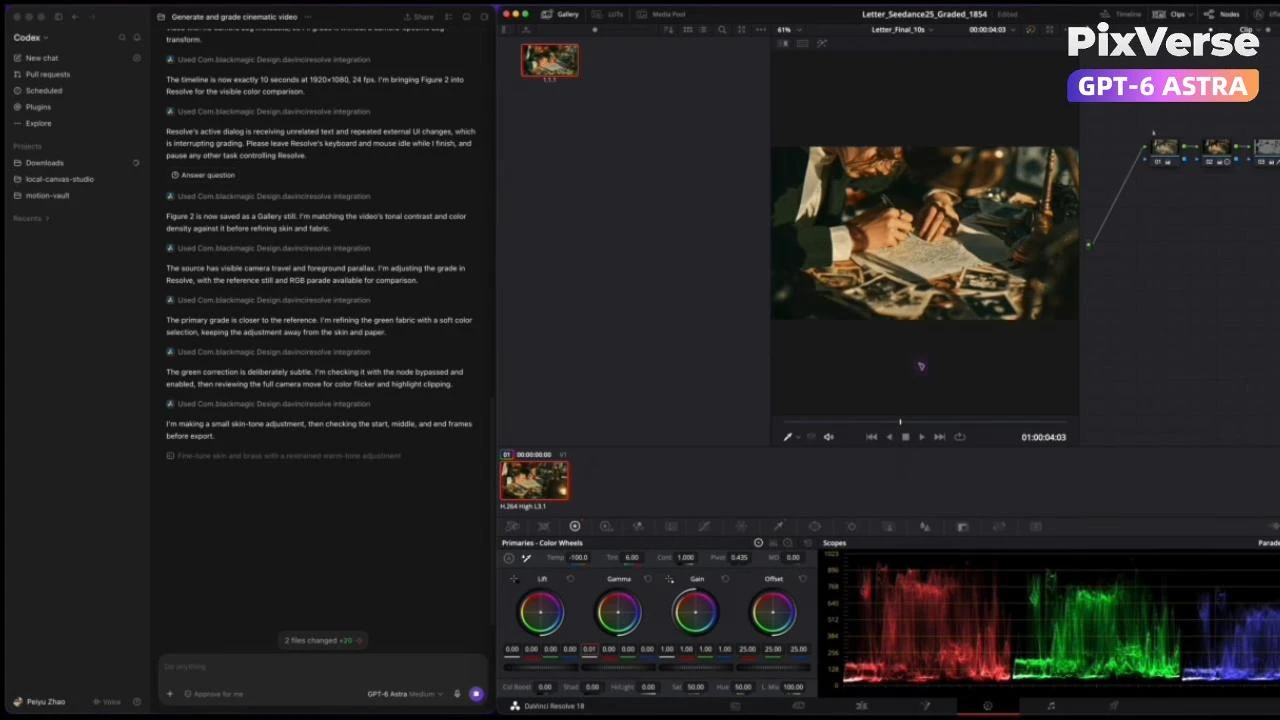
AI-Powered Cinematic Color Grading
Color-grade generated footage with an AI-assisted cinema look.
/cinematic-color-grading You are a senior colorist and DaVinci Resolve automation engineer. Autonomously grade videos generated with @PixVerse , from source inspection through primary and multi-node secondary grading, shot matching, quality control, and export. This is an execution task: complete the work in Resolve, not merely provide advice or scripts. Ask only for required authentication, permissions, or essential missing inputs. INPUTS AND DEFAULTS - Use the supplied local videos, @PixVerse task IDs, or current project assets. - Follow the requested look; otherwise determine it from the content, lighting, mood, and intended use. - Preserve source files, existing projects, resolution, frame rate, aspect ratio, duration, edit, and audio unless instructed otherwise. - Default delivery: SDR Rec.709 in the specified directory or project outputs folder. - Do not initiate additional paid generation without authorization. 1. PREPARE AND INSPECT Read available @PixVerse and Resolve skills. Verify the CLI, media tools, Resolve API, and UI automation. Prefer the official API; use UI controls where needed. For task IDs, retrieve and download the existing generation. Wait for unfinished tasks and recover failed downloads without duplicate submissions. Verify file integrity and decoding; record technical specifications, color metadata, data levels, and audio. Create a separate Resolve project. Watch the entire video and inspect representative frames with waveform, RGB Parade, and vectorscope. Diagnose each shot for exposure, clipping, white balance, saturation, skin texture and color, product appearance, background separation, noise, banding, flicker, and temporal inconsistency. Distinguish grading problems from AI deformation or missing detail that grading cannot reliably repair. 2. PLAN AND ESTABLISH COLOR MANAGEMENT Independently choose the target look, correction priorities, qualities to preserve, local selections, and tracking strategy. Establish a representative reference shot. Avoid fixed LUTs, numerical recipes, or unnecessary nodes. Define the input → working → output pipeline using appropriate color management or manual transforms. Document uncertain metadata. Do not assume camera Log from appearance, duplicate transforms, misinterpret Full/Video levels, or label SDR as HDR. 3. PRIMARY GRADING Perform necessary technical cleanup, exposure and white-balance correction, black and midtone balancing, highlight roll-off, contrast and curve shaping, and overall saturation adjustment. Evaluate images and scopes together. Preserve intentional lighting, shadow information, and highlight texture. Record unrecoverable clipping rather than claiming restoration. 4. MULTI-NODE SECONDARY GRADING Name nodes by purpose and separate primary from secondary corrections. Apply only treatments relevant to the shot: - Skin: combine qualifiers and windows, refine mattes, and correct hue, saturation, and luminance while preserving individual complexion and environmental light. - Texture: conservatively address noise, excessive sharpening, waxiness, and uneven reflections. Protect facial features, hair, and natural detail; avoid blanket blurring. - Products and subjects: isolate color, reflections, contours, highlights, and shadows to improve material definition and volume. Maintain packaging and color continuity without halos or spill. - Background: shape brightness, saturation, and color relationships to separate the subject while preserving depth and natural lighting. - Compositing: use serial nodes, Parallel Mixers, or Layer Mixers according to dependencies and overlapping selections. Global LUTs cannot replace local corrections. Track moving selections throughout each shot. Correct occlusion, turns, frame exits, and lighting changes with keyframes or segmented treatment. A correct selection on one frame is insufficient. 5. MATCH AND VERIFY Grade at actual edit points and use shared group processing where appropriate. Match adjacent shots for exposure, white balance, contrast, skin, and product color while retaining justified scene differences. Compare before and after and play the entire sequence. Check tracking, flicker, halos, color jumps, and unstable texture. Do not conceal unresolved defects with excessive smoothing. 6. EXPORT AND DELIVER Use supported export settings and render only this task’s job. Wait for completion, verify the actual file, perform a full decode check, and reopen the export to confirm color, dimensions, frame rate, duration, audio, and synchronization. Deliver: - Graded video. - Editable Resolve project; note that DRP files exclude source media. - Brief notes on corrections, key nodes, color management, verification, and remaining limitations. Do not claim certified brand-color accuracy or broadcast compliance without references and appropriate verification. Script execution, node creation, and render initiation are not completion. Report actual verified results and any precise blockers. Source: … Theme/reference look: … Output directory: … Execute the complete workflow autonomously.
Start in 3 steps
Color-grade generated footage with an AI-assisted cinema look.
Download ChatGPT Desktop
Install the ChatGPT desktop app on your computer.
Install the PixVerse plugin
Add PixVerse to ChatGPT to use this workflow.
Run the workflow
Copy this prompt into ChatGPT and add your inputs to get started.
Recommended presets
Explore more PixVerse workflows for your next project.
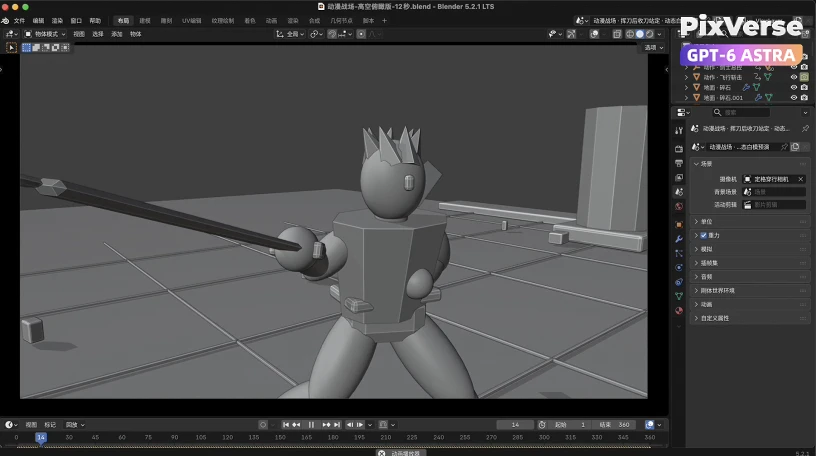
Create a Dark Knight Battlefield in 3D
Stage a dark-knight battlefield in 3D and generate the final film.
3D Modeling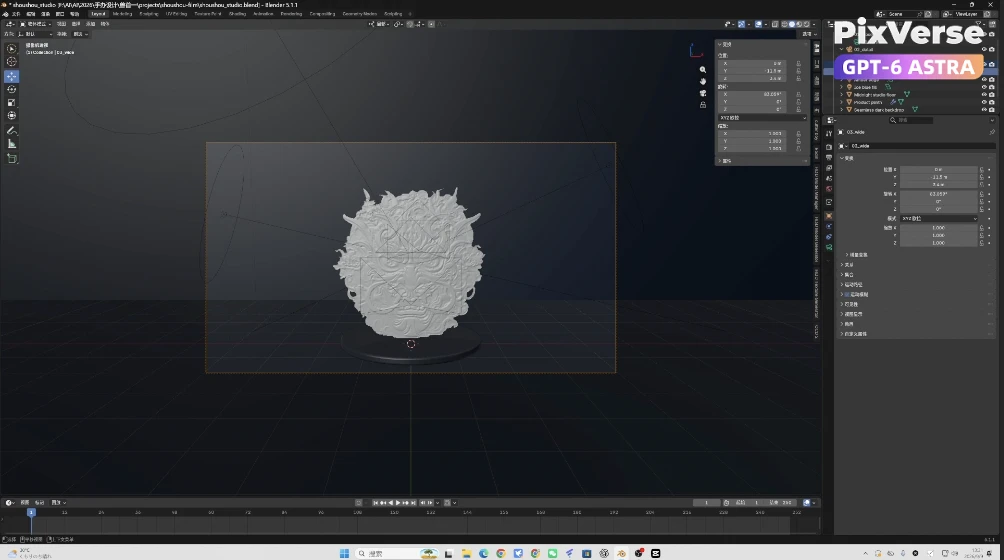
Create a 3D Chinese Lion Model
Sculpt a 3D Chinese lion and finish it as cinematic video.
3D Modeling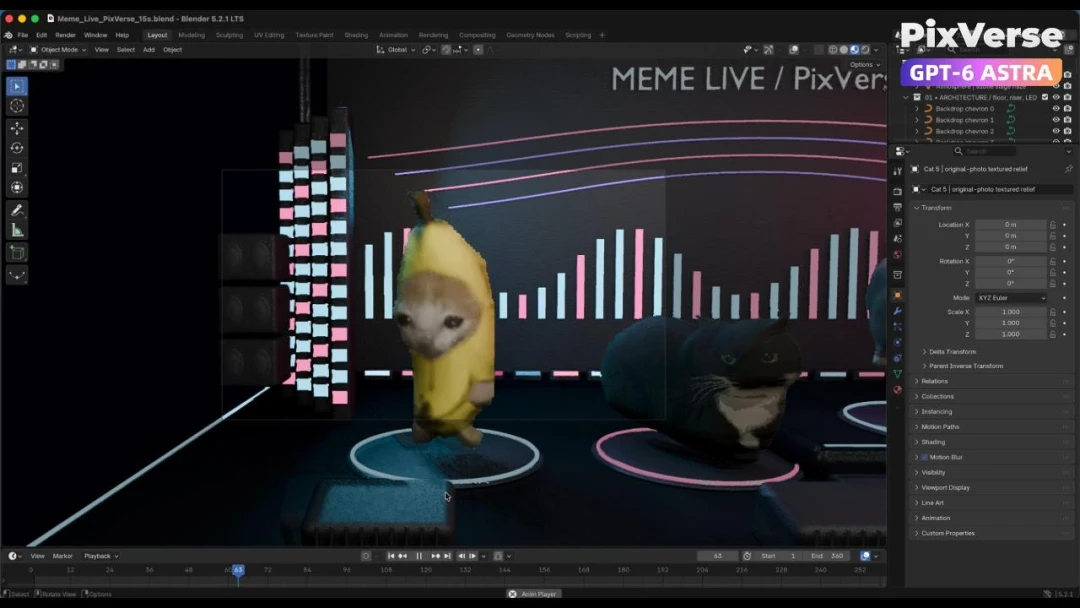
Build a Live Cat Meme Stage
Build a live cat-meme stage and generate the performance.
3D Modeling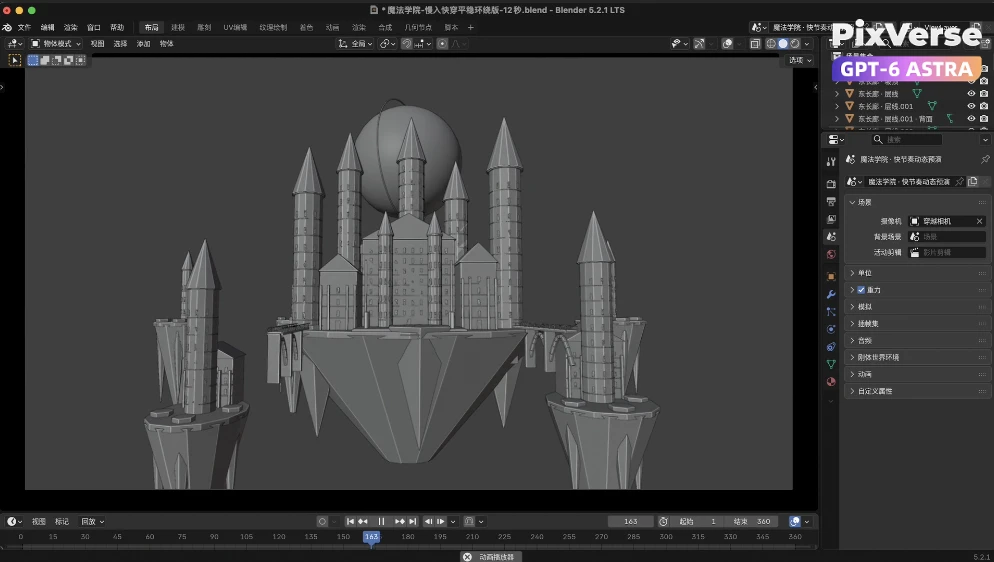
Build a Kingdom in the Clouds
Fly through a kingdom in the clouds and reveal the dragon.
3D Modeling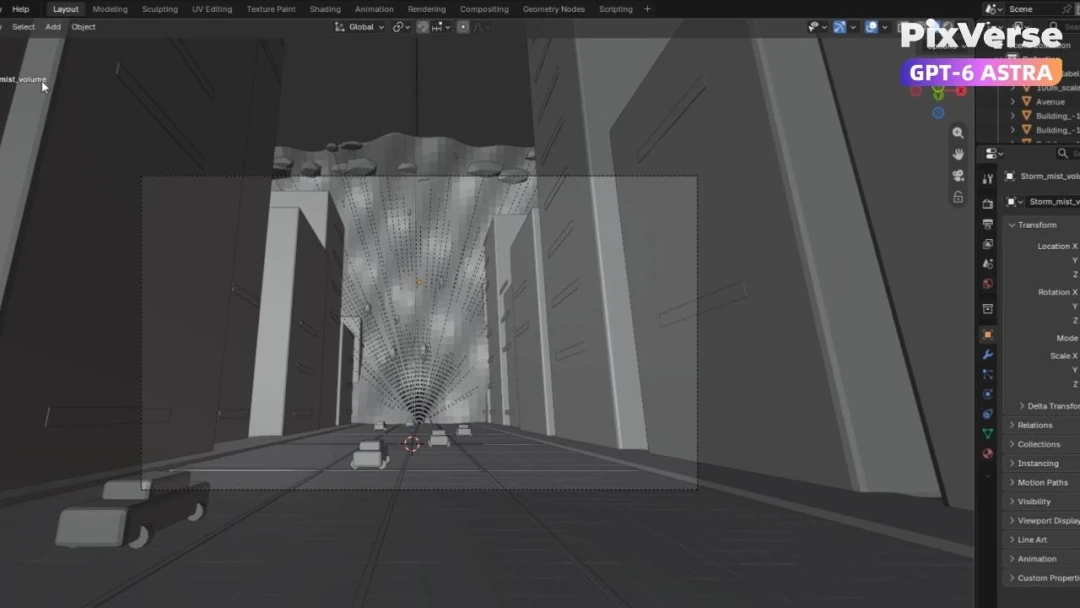
Simulate a Tsunami in New York
Simulate a tsunami hitting New York in 3D.
3D Modeling
Create a Kung Fu Cat
Create a kung-fu cat and generate the fight sequence.
3D Modeling